Bernie specific questions and answers
12/1/2021 software update instructions
This only applies to Bernie SN3 and SN4.
Backup of your previous Bernie installation, to save your parameters, protocols, or modifications.
Manually delete the previous Bernie installation. Make sure the backup is saved.
Using Git, pull or clone the Bernie GitHub repository.
Flush the Arduino firmware (see the separate instructions).
Remove all the tubes from the working area. Keep the tip rack (with or without the tips)
Perform the calibration routine. Run “python calibrate.py”
If calibration was successful, the robot is ready to work.
See also:
How to modify the parameters
How to flush the Arduino firmware?
First, make sure you followed the “12/1/2021 software update instructions” until the “flush firmware” step.
Make sure the Arduino IDE is installed. Start Arduino IDE.
Within the Arduino IDE, install the HX711 library. To do that:
go to “Tools -> Manage Libraries”, or “Sketch -> Include library -> Manage Libraries”.
In the “Filter your search…” field, type “HX711”.
Locate the “HX711 by Rob Tillaart” entry. Select the latest version.
Press “Install”, unless already installed.
Close the Library manager window
From within the Arduino IDE interface, open the Arduino firmware from the Bernie repository. To do that, go “File -> Open”, then locate your Bernie folder; go to “firmware_arduino”; choose the “Bernie” file.
The Arduino IDE will prompt you to move it to the sketchbook; proceed.
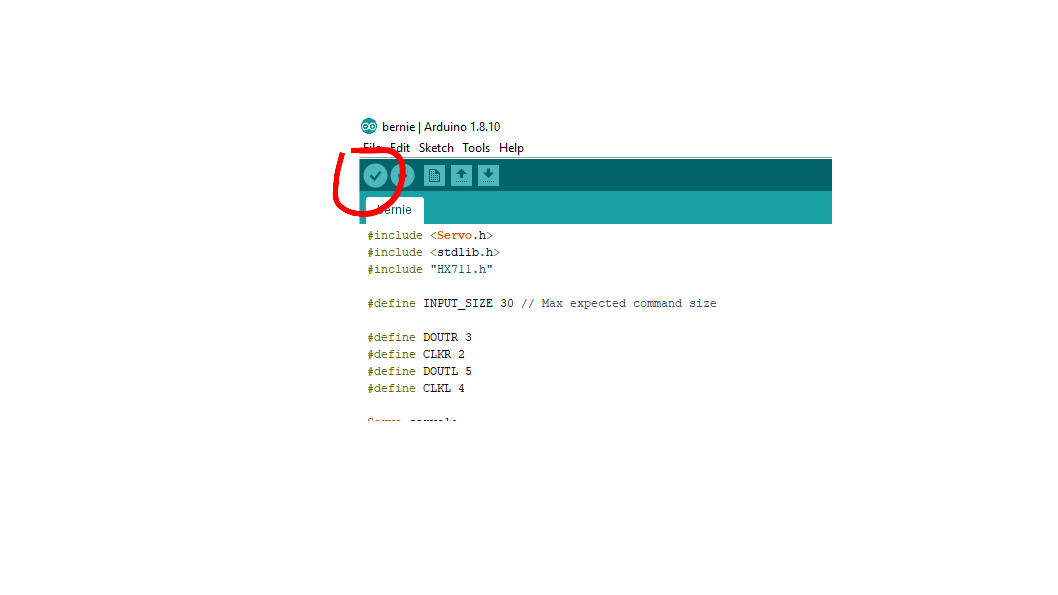
Press the “Verify” button, to make sure that the code compiles and nothing is wrong.
Connect the Bernie robot to your computer’s USB port. Power may or may not be on.
Choose the board and the port
From the menu, go to “Tools -> Board” and choose “Arduino/Genuino Uno”.
Go to the “Tools -> Port”. There should be at least two ports. Select the first port.
Go to the “Tools -> Serial Monitor”. Wait for a few seconds. The monitor should give a welcome message.
If the welcome message did not appear, select the other port from the “Tools -> Port”; then repeat the previous step.
Once the port is selected, press the “Upload” button. Wait for the compilation and upload to complete.
Open the Serial Monitor again, to make sure the welcome message appears.
Continue with the “Software update” instructions.


About Bernie settings
The default settings are stored in the “factory_default” folder. Do not modify those settings, all the modifications will be discarded at the next Bernie library update.
All Bernie scripts and the library are using the settings from the “Bernielib” root folder. They are not changed during updates, so the robot settings can be preserved.
All the “.json” and “.csv” files from the “Bernielib” root folder can be safely deleted.
When a script is run and requires a setting, it will first look at the “Bernielib” root folder. If not found, it will look in the “factory_default” folder. It will then copy the required setting into the root folder.
The purify.py settings are stored in the samplesheet.csv file. Those are protocol-specific settings.
The robot-specific settings are stored in the “robot.json” file.
The workspace-specific settings for the robot are stored in the files “reagents.json”, “samples.json”, “waste.json”, “tips.json”. For example, the approximate X,Y center of the racks and workspace is stored there and can be modified.
The sample-specific settings are in the “.json” files with the corresponding name, such as “eppendorf.json” or “25ml.json”. Use the same name in the samplesheet.csv file to specify the tube. You can create your own tube by copying the file, remaining it and modifying the necessary settings.
Some settings are still hardcoded in the library code or the scripts. If you need to modify them, either locate them in the code or contact Sergii s.pochekailov@gmail.com
When Bernie mixes the liquids, I want it to pause between pipette strokes for the longer time
The mixing instructions are provided in a separate excel file for each tube type. The files are named mixing_pattern_SampleType.xls; for example, mixing_pattern_eppendorf.xls.
You can edit the file to modify the mixing pattern.
There is a copy of the mixing patterns file in the factory_default folder; in case you want to revert your settings, just replace the modified file with the copy from the factory_default.
The delay between strokes is specified in the “delay” column. Replace all the values with the desired ones.

Each row represents a pipette stroke up or down. If you want to modify only some strokes, change the delays only for those rows.
Bernie fails to uptake the liquid, trying to pipette while being somewhat above the actual liquid level

Make sure the actual liquid level is the same or above the level provided in your samplesheet.csv file. Some liquid could evaporate over time.
Make sure the tube is properly measured.
Go to the ./bernielib folder.
Find the .json file for your specific tube. For example, if you are using 25 mL tubes, the file will be called 25ml.json. Open the file with a text editor.
Find the parameter “depth_to_vol_dict”. The parameter value is the dictionary of tube volume (uL) versus distance to the liquid from the top rim (mm).
Measure those values manually and compare them with the dictionary values.
If different, replace the values with your new ones.
Do not modify the files in “factory_default” folder, since they will be replaced at the next update.
If the previous measurements are correct, find the parameter “extra_immersion_volume” and increase its value. For example, instead of “2500”, enter “3000” or so.
If you have several types of tubes, create a new tube file. Please refer to the “Creating new tube” guide.